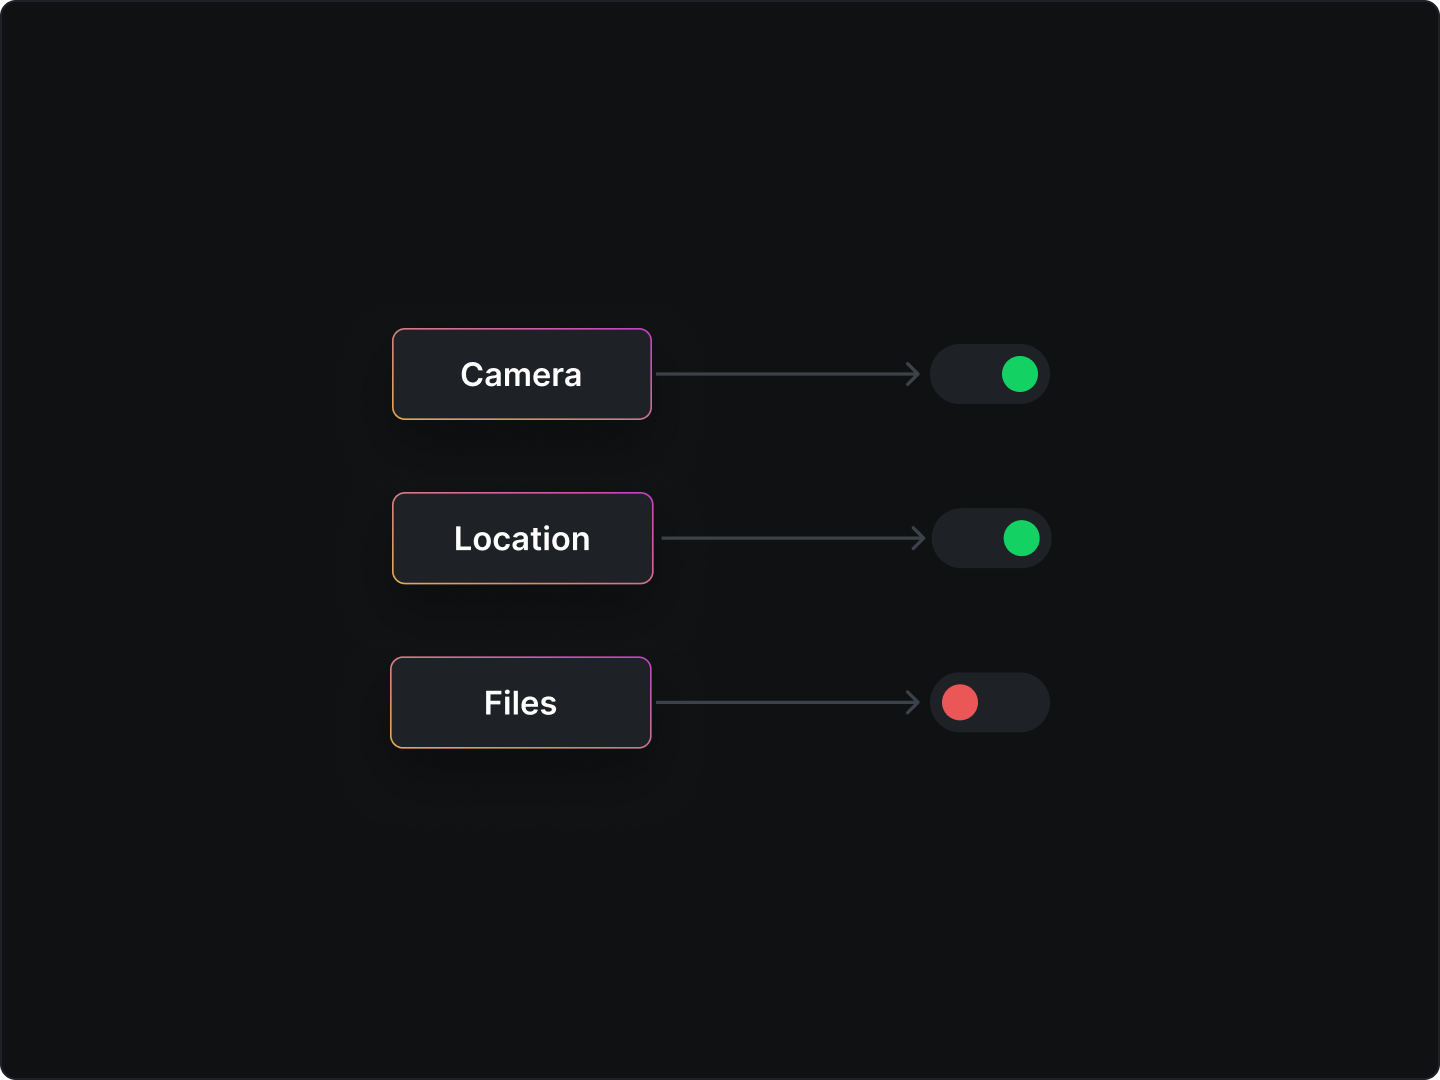
Have you ever wondered which apps have been granted access to your device's camera or location? Or do you want to see a list of all the apps that have a specific permission? Unfortunately, Android doesn't have a built-in feature to easily display this information. However, in this article, we will show you how to create a basic application using Android Studio and Kotlin that will list all the apps according to the permissions they have been granted.
To get started, open up a new Android Studio project and create a layout file in your activity_main.xml file. If you don't feel like designing your own layout, feel free to copy the code we provide because we're not here to teach you how to design layouts! 😄
<?xml version="1.0" encoding="utf-8"?>
<LinearLayout xmlns:android="http://schemas.android.com/apk/res/android"
    xmlns:app="http://schemas.android.com/apk/res-auto"
    android:layout_width="match_parent"
    android:layout_height="match_parent"
    android:orientation="vertical">

    <Spinner
        android:layout_width="match_parent"
        android:id="@+id/spinner"
        android:padding="4dp"
        style="@style/Widget.AppCompat.DropDownItem.Spinner"
        android:layout_margin="8sp"
        android:layout_marginBottom="8sp"
        android:layout_height="?attr/actionBarSize"/>

    <TextView
        android:layout_width="match_parent"
        android:id="@+id/tvCount"
        android:layout_margin="8sp"
        android:textSize="20sp"
        android:layout_height="wrap_content"/>

    <androidx.recyclerview.widget.RecyclerView
        android:id="@+id/rv_main_list"
        android:layout_margin="4dp"
        android:layout_width="match_parent"
        android:layout_height="match_parent"/>

</LinearLayout>
Before we move on to our main activity, let's create an item_layout.xml file which will inform the recyclerview about the type of layout we want to display in our list. We'll keep it simple by designing a basic layout that will include the name of the app along with its corresponding icon.
<?xml version="1.0" encoding="utf-8"?>
<RelativeLayout xmlns:android="http://schemas.android.com/apk/res/android"
    android:layout_width="match_parent"
    android:layout_height="wrap_content"
    android:padding="8sp"
    xmlns:tools="http://schemas.android.com/tools"
    android:orientation="vertical">

    <ImageView
        android:layout_width="50dp"
        android:id="@+id/iv_icon"
        android:src="@mipmap/ic_launcher_round"
        android:layout_height="50dp"/>

    <TextView
        android:layout_width="wrap_content"
        tools:text="app name"
        android:id="@+id/tv_appname"
        android:layout_toEndOf="@id/iv_icon"
        android:textSize="20sp"
        android:layout_centerVertical="true"
        android:layout_marginStart="20dp"
        android:layout_height="wrap_content"/>

</RelativeLayout>
Implementation
Now, let's get to the interesting part! Before we move on to our main activity, we need to create a data class for our app. This will allow us to pass both the app name and icon to be bound in our Adapter class. In case you're not familiar with data classes, they are essentially classes that come with all the getters and setters already built-in. If you're interested in learning more about data classes, check out this informative article.
data class AppName(val packageName: String, val appName: String, val appIcon: Drawable)
Now that we have everything set up, we're ready to rock in our main activity! To start with, we'll declare a few variables that will be initialized later on. Add the following code just above the onCreate() method in MainActivity.kt file:
lateinit var permissionsArray: ArrayList<String>
lateinit var appPackageName: String
lateinit var appName: String
lateinit var appInfo: ApplicationInfo
lateinit var appIcon: Drawable
lateinit var adapter: AppAdapter
lateinit var packages: MutableList<PackageInfo>
private val appList = mutableListOf<AppName>()
private val cameraList = mutableListOf<AppName>()
private val contactsList = mutableListOf<AppName>()
private val locationList = mutableListOf<AppName>()
private val microphoneList = mutableListOf<AppName>()
private val storagemediaList = mutableListOf<AppName>()
private val smsList = mutableListOf<AppName>()
In our code, we have several lists for various kinds of permissions, such as Camera, Location, Contacts, and so on. Moving on to the onCreate() method, we'll initialize the spinner with the permissionsArray and a spinner adapter using the following code:
permissionsArray = arrayListOf(
        "All apps",
        "Camera",
        "Contacts",
        "Location",
        "Microphone",
        "Storage & Media",
        "SMS"
        //or any other permission you want to check for
    )

val arrayAdapter = ArrayAdapter(
        this,
        android.R.layout.simple_spinner_dropdown_item,
        permissionsArray
    )

    spinner.adapter = arrayAdapter
Next up, we'll initialize our packages list with all the installed app packages on our device like this:
packages = packageManager.getInstalledPackages(PackageManager.GET_META_DATA)
The above code will return a list of all installed packages on our app. However, we also want to filter this list based on the chosen permission. But don't worry, we'll come to that in just a bit! For now, we'll run a for loop that will assign the packages list to our appList along with other parameters that we'll derive from our app package name, such as the app name itself and the app icon drawable.
for (i in 0 until packages.size) {
    appPackageName = packages[i].packageName
    appInfo = packageManager.getApplicationInfo(appPackageName, 0)
    appName = packageManager.getApplicationLabel(appInfo) as String
    appIcon = packageManager.getApplicationIcon(appPackageName)

    if (packageManager.getLaunchIntentForPackage(appPackageName) != null) {
        appList.add(AppName(appPackageName, appName, appIcon))

    }
}
In the above code, we're iterating through the packages list and for each iteration, we're defining the appName and appIcon for the corresponding appPackageName. It's worth noting that we're not adding these parameters directly to our AppName class. This is because the packages list also includes many other package names that are pre-installed by Android on the device and we can't access them. So, we're checking to see if the app launch returns null before adding it to our appList (or any other list).
Now, inside this if statement where we've populated our appList, we'll also populate our other lists with an additional filter to check for a specific permission before adding. Let's create a function called checkCameraPermission() inside our MainActivity.kt file that takes appPackageName as a parameter and returns a boolean value.
private fun checkCameraPermission(appPackageName: String?): Boolean {
    return PackageManager.PERMISSION_GRANTED == packageManager.checkPermission(
        android.Manifest.permission.CAMERA,
        appPackageName
    )
}
Sometimes, we need to check for multiple permissions in certain functions. For instance, an app might request either ACCESS_FINE_LOCATION or ACCESS_COARSE_LOCATION to perform location-related activities. Therefore, we need to check for both cases like this:
private fun checkLocationPermission(appPackageName: String?): Boolean {
    return (PackageManager.PERMISSION_GRANTED == packageManager.checkPermission(
        android.Manifest.permission.ACCESS_FINE_LOCATION,
        appPackageName
    )) or (PackageManager.PERMISSION_GRANTED == packageManager.checkPermission(
        android.Manifest.permission.ACCESS_COARSE_LOCATION,
        appPackageName
    ))
}
You can create other functions in a similar fashion and call them inside your if statement just like this.
if (packageManager.getLaunchIntentForPackage(appPackageName) != null) {
    appList.add(AppName(appPackageName, appName, appIcon))

      if (checkCameraPermission(appPackageName)) {
          cameraList.add(AppName(appPackageName, appName, appIcon))
      }
      if (checkContactsPermission(appPackageName)) {
          contactsList.add(AppName(appPackageName, appName, appIcon))
      }
      if (checkLocationPermission(appPackageName)) {
          locationList.add(AppName(appPackageName, appName, appIcon))
      }
      //similarly check for other permissions...
Now that we have all the lists, we just need to pass them to the recyclerview on the spinner item click. If you want to see your apps in alphabetical order, you can do so using the sortBy() function. We use the "it" keyword when sorting a list of objects to tell the list which parameter to use for sorting.
appList.sortBy { it.appName }
cameraList.sortBy { it.appName }
//similarly for other lists...
To implement the spinner item click functionality, we use the onItemSelectedListener() method and write our code in the following way. For each spinner value, we pass the corresponding list to the adapter and update the tvCount (TextView that displays the number of apps for every permission).
Just a quick reminder: the spinner does not support onClick() events, so attempting to use onItemClickListener() will throw an exception.
rv_main_list.layoutManager = LinearLayoutManager(this)

spinner.onItemSelectedListener = object : OnItemSelectedListener {
    override fun onItemSelected(
        parentView: AdapterView<*>?,
        selectedItemView: View,
        position: Int,
        id: Long
    ) {
        val text = parentView?.getItemAtPosition(position).toString()
        when (text) {
            permissionsArray[0] -> {    //All apps
                adapter = AppAdapter(appList, applicationContext)
                rv_main_list.adapter = adapter
                tvCount.text = "${appList.size} apps found"
            }
            permissionsArray[1] -> {    //Camera
                adapter = AppAdapter(cameraList, applicationContext)
                rv_main_list.adapter = adapter
                tvCount.text = "${cameraList.size} apps found"
            }
            permissionsArray[2] -> {    //Contacts
                adapter = AppAdapter(contactsList, applicationContext)
                rv_main_list.adapter = adapter
                tvCount.text = "${contactsList.size} apps found"
            }

            //Similarly for other permissions...

        }
    }

    override fun onNothingSelected(parentView: AdapterView<*>?) {
        // your code here
    }
}
I see that there are a lot of red lines in your MainActivity now. But don't worry, we'll implement our adapter next! It's a very basic adapter with the usual three override methods and a view binding from the ViewHolder class - nothing too complicated here. Here's the code for that:
class AppAdapter(
    val items: MutableList<AppName>,
    val context: Context
) :
    RecyclerView.Adapter<AppAdapter.ViewHolder>() {
    override fun onCreateViewHolder(parent: ViewGroup, viewType: Int): ViewHolder {
        return ViewHolder(LayoutInflater.from(context).inflate(R.layout.item_layout, parent, false))
    }

    override fun getItemCount() = items.size

    override fun onBindViewHolder(holder: ViewHolder, position: Int) {

        holder.appName.text = items[position].appName
        holder.icon.setImageDrawable(items[position].appIcon)

    }

    class ViewHolder(itemView: View) : RecyclerView.ViewHolder(itemView) {
        val icon: ImageView = itemView.iv_icon
        val appName = itemView.tv_appname
    }

}
That's it! If you have implemented everything correctly, your app should be up and running and should look something like this!

Congratulations! You have successfully created your very own permission checker app using Kotlin and Android Studio. If you encountered any errors while running the app, you can check your code against my code on GitHub. Additionally, I have also implemented a click listener that, upon clicking an app item, redirects the user to that app's info so that they can manage the permissions from there.
If you found this article helpful and informative, please show your support by giving it a clap. Thank you for reading, and I look forward to seeing you soon in another article!


