Network calls play a crucial role in modern Android app development, enabling communication with remote servers to fetch data, submit user inputs, and perform various operations.
The evolution of networking libraries have found Retrofit to be a powerful and efficient tool for handling network calls.
By thoroughly understanding the importance of network calls in Android development and the challenges faced with traditional network libraries, we can appreciate the need for a robust and efficient networking solution like Retrofit.
In this article, we will explore the benefits and practical implementation of Retrofit in Android applications.
Understanding Retrofit
Retrofit is a powerful and widely-used networking library for Android app development. Let's delve deeper into its core principles and features.
Core Principles
- Retrofit follows the principles of simplicity, type safety, and declarative programming.
- It aims to provide an intuitive and concise API for making network calls in Android applications.
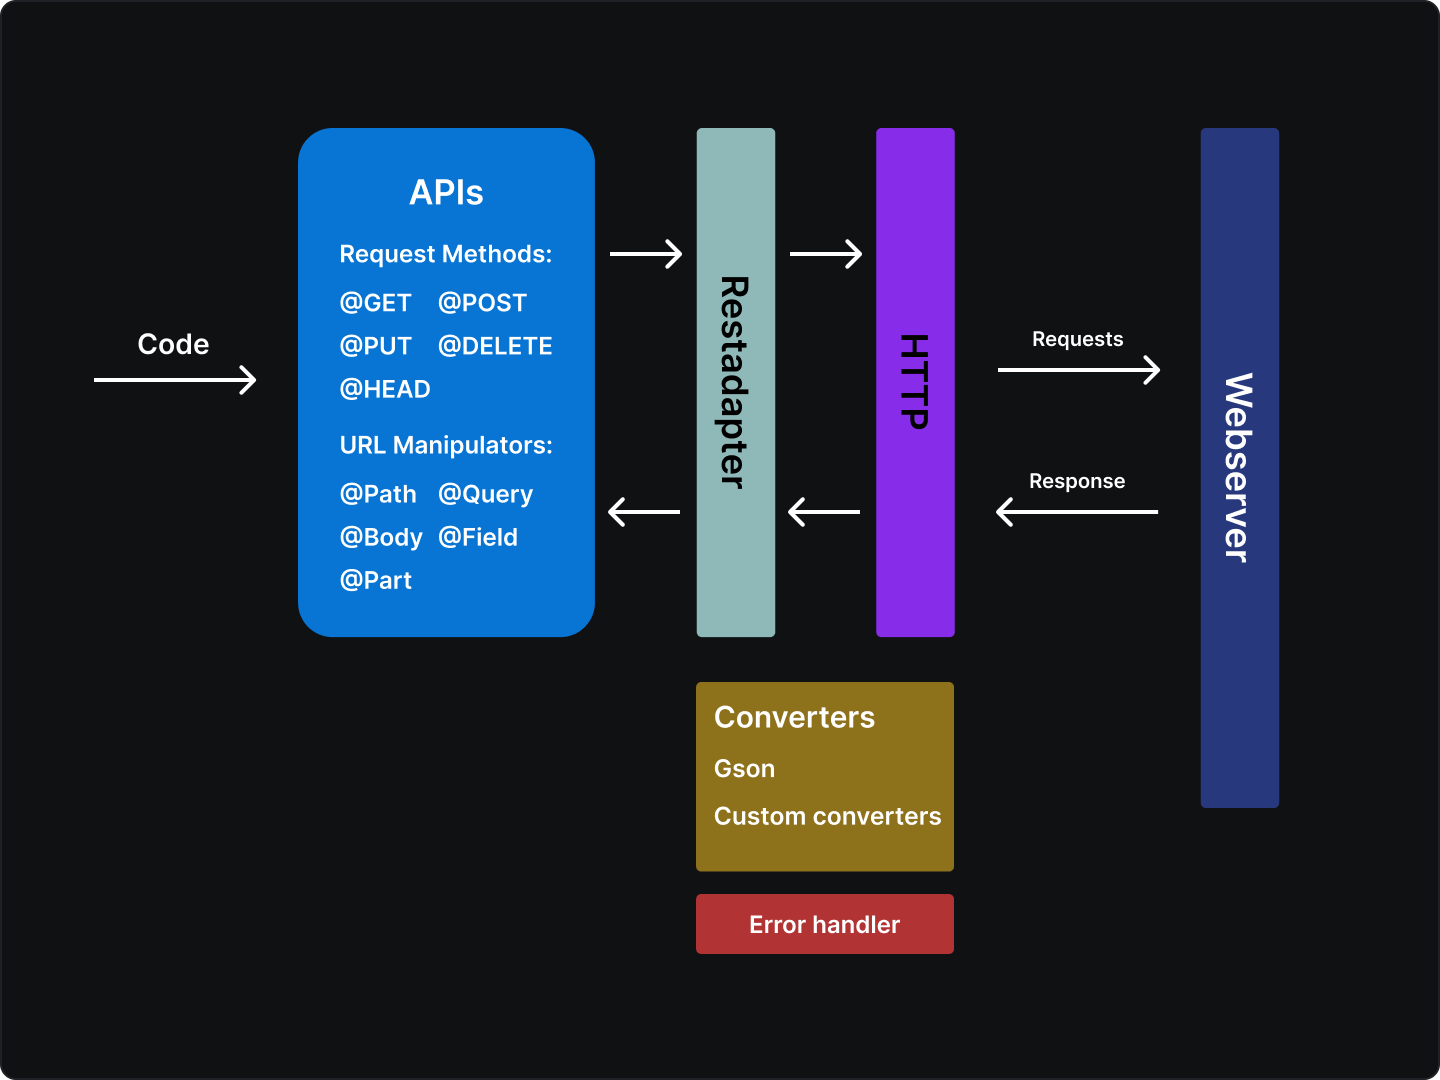
- By utilizing annotations and interfaces, Retrofit enables developers to define the structure of API endpoints and their associated request methods.
Key Features
Type-safe API Interfaces: Ensures compile-time safety by mapping API endpoints to specific methods, reducing bugs and saving development time. For example, defining a method getUsers() with the appropriate return type simplifies working with API responses..
Automatic Serialization/Deserialization: Integrates with converters like Gson or Jackson to seamlessly convert JSON or XML responses to Java or Kotlin objects, eliminating manual parsing and reducing errors. This simplifies handling API data and accelerates development.
Request Customization: Allows easy customization of headers, query parameters, and request bodies, enabling seamless integration with various APIs and accommodating specific requirements.
Error Handling: Simplifies error handling through its callback mechanism or by utilizing RxJava, providing a structured approach to handle network errors and enhance user experience.
Getting Started with Retrofit
To start using Retrofit for network calls in your Android application, follow these steps:
-
Setting up Retrofit in an Android Project
- Add the Retrofit dependency to your project's build.gradle file:
implementation 'com.squareup.retrofit2:retrofit:2.x.x'- Make sure to replace
2.x.xwith the latest version of Retrofit. You can check the available versions in the Retrofit documentation. - Sync your project to download the Retrofit library.
-
Defining API Endpoints and Request Methods
- Create an interface that represents your API service. This interface will define the structure of your API endpoints and the associated HTTP request methods.
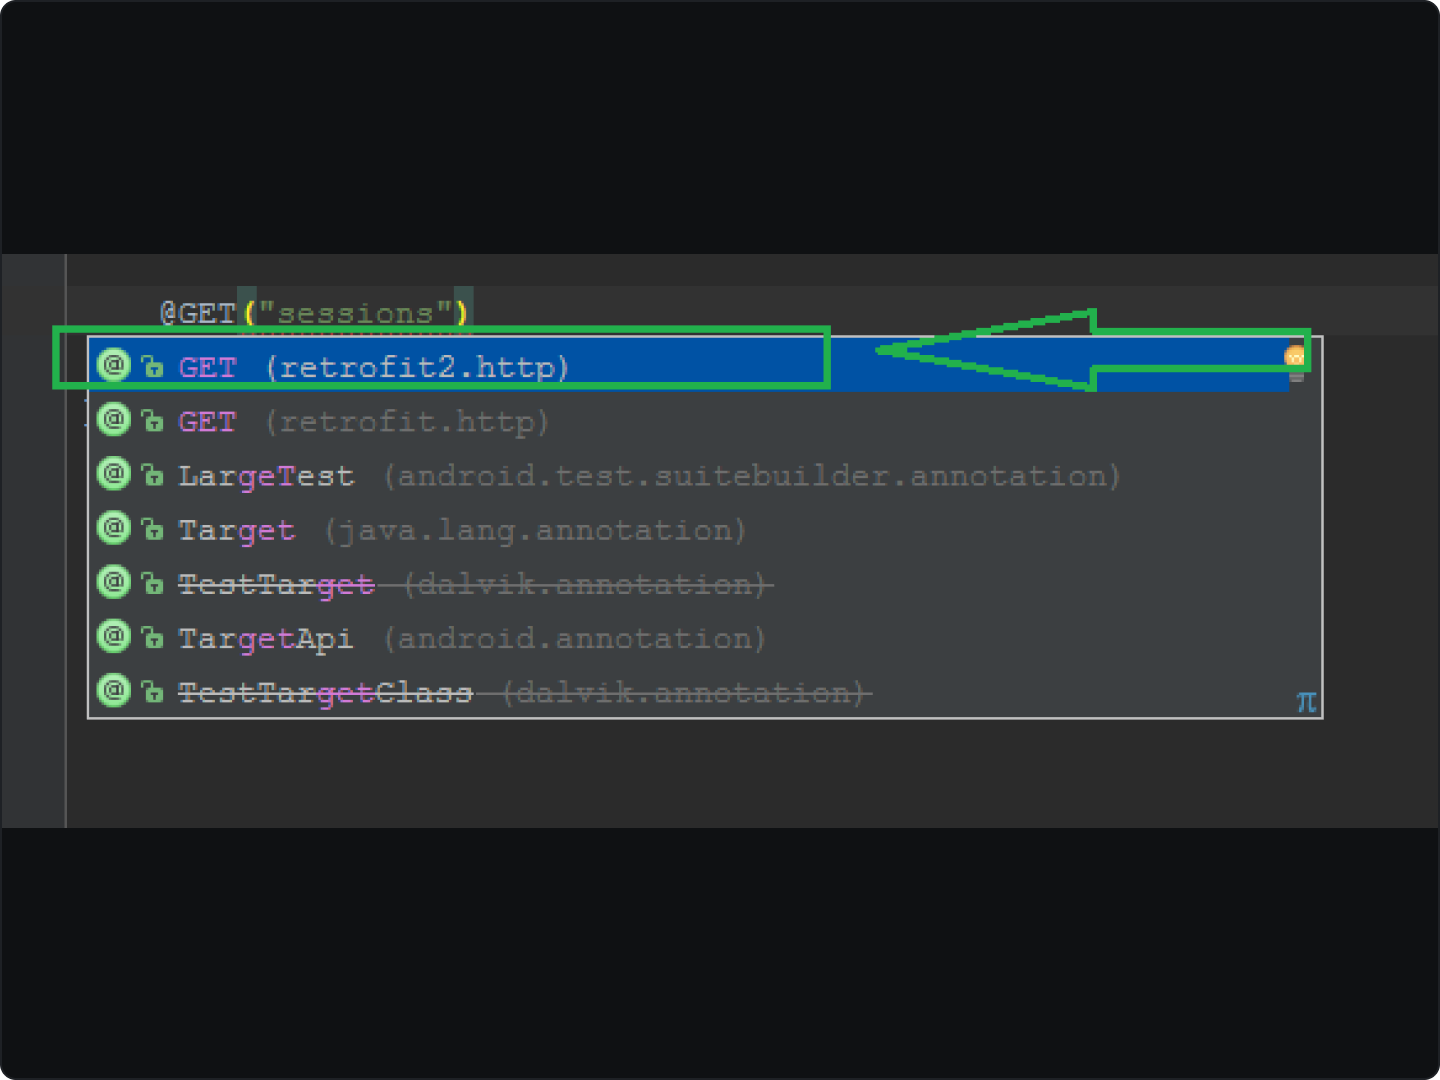
- Use Retrofit annotations, such as
@GET,@POST,@PUT,@DELETE, etc., to specify the type of request. - Define the endpoint URL and any required path or query parameters.
Example:
interface MyApiService {
    @GET("users/{id}")
    fun getUser(@Path("id") userId: String): Call<User>
} -
Creating a Retrofit Instance
- Create an instance of the Retrofit class using its
BuilderAPI. - Specify the base URL of your API by calling the
baseUrl()method. - Add any additional configuration, such as converters or interceptors, using the
addConverterFactory()andaddInterceptor()methods.
Example:
val retrofit = Retrofit.Builder()
    .baseUrl("https://api.example.com/")
    .addConverterFactory(GsonConverterFactory.create())
.build() - Create an instance of the Retrofit class using its
-
Creating an API Service Instance
- Use the Retrofit instance created in the previous step to create an instance of your API service interface.
- Retrofit dynamically generates an implementation of your interface based on the provided annotations and configurations.
Example:
val apiService = retrofit.create(MyApiService::class.java) -
Making a Network Request
- Once you have the API service instance, you can use it to make network requests.
- Call the appropriate method on the API service instance, which corresponds to the defined API endpoint.
- Use the returned
Callobject to enqueue the request and handle the response asynchronously.
Example:
val call = apiService.getUser("12345")
call.enqueue(object : Callback<User> {
    override fun onResponse(call: Call<User>, response: Response<User>) {
        // Handle success response
        val user = response.body()
    }

    override fun onFailure(call: Call<User>, t: Throwable) {
        // Handle failure
    }
})
By following these steps, you can get started with Retrofit and begin performing network calls in your Android application
Integrating Retrofit with Android Components
Retrofit seamlessly integrates with various Android components, allowing you to leverage its power across your application. Let's explore how you can integrate Retrofit with different Android components.
- ViewModel Integration
- Retrofit can be integrated with the ViewModel architecture component to perform network calls and fetch data for your UI.
- By making the network requests within a ViewModel, you can ensure that the data is retained during configuration changes and is separate from the UI lifecycle.
- RecyclerView Integration
- Retrofit can be integrated with RecyclerView to efficiently load data from a RESTful API and display it in a list.
- You can create a Retrofit service instance within the adapter or use a separate data source to fetch the data and notify the adapter of changes.
Integrating Retrofit with Android components allows you to efficiently fetch data from APIs and provide a seamless user experience.
Advanced Retrofit Techniques
In addition to the basic usage of Retrofit, there are several advanced techniques and features that you can leverage to enhance your networking capabilities. Let's explore some of these advanced techniques:
Dynamic URL Handling
- Retrofit allows you to handle dynamic URLs, where the base URL may vary based on runtime conditions or user inputs.
- You can achieve this by using dynamic URL replacement using the
@Urlannotation. - This provides flexibility and adaptability to different server environments or API versions.
Custom Request Bodies
- Retrofit provides flexibility in sending custom request bodies, such as JSON objects, files, or even serialized data structures.
- You can define a custom request body by creating a class that implements the
RequestBodyinterface. - Enabling to send data in various formats according to API requirements empowers to structure the request payload based on their specific needs.
Mocking API Responses
- During development and testing, it can be beneficial to mock API responses to simulate different scenarios or bypass network calls.
- Libraries like Mockito or MockWebServer can be used to mock the Retrofit service and provide custom responses for testing purposes.
- This facilitates the creation of fake responses to test different scenarios and enhance application robustness.
Testing and Debugging Retrofit
Testing and debugging are crucial aspects of app development, including when working with Retrofit. Let's explore some techniques and tools that can help you effectively test and debug your Retrofit-based network calls.
Unit Testing
- Unit testing is essential to ensure the correctness of your code and the behavior of your Retrofit API interfaces.
- You can write unit tests using frameworks like JUnit or KotlinTest to verify the functionality of your Retrofit service methods.
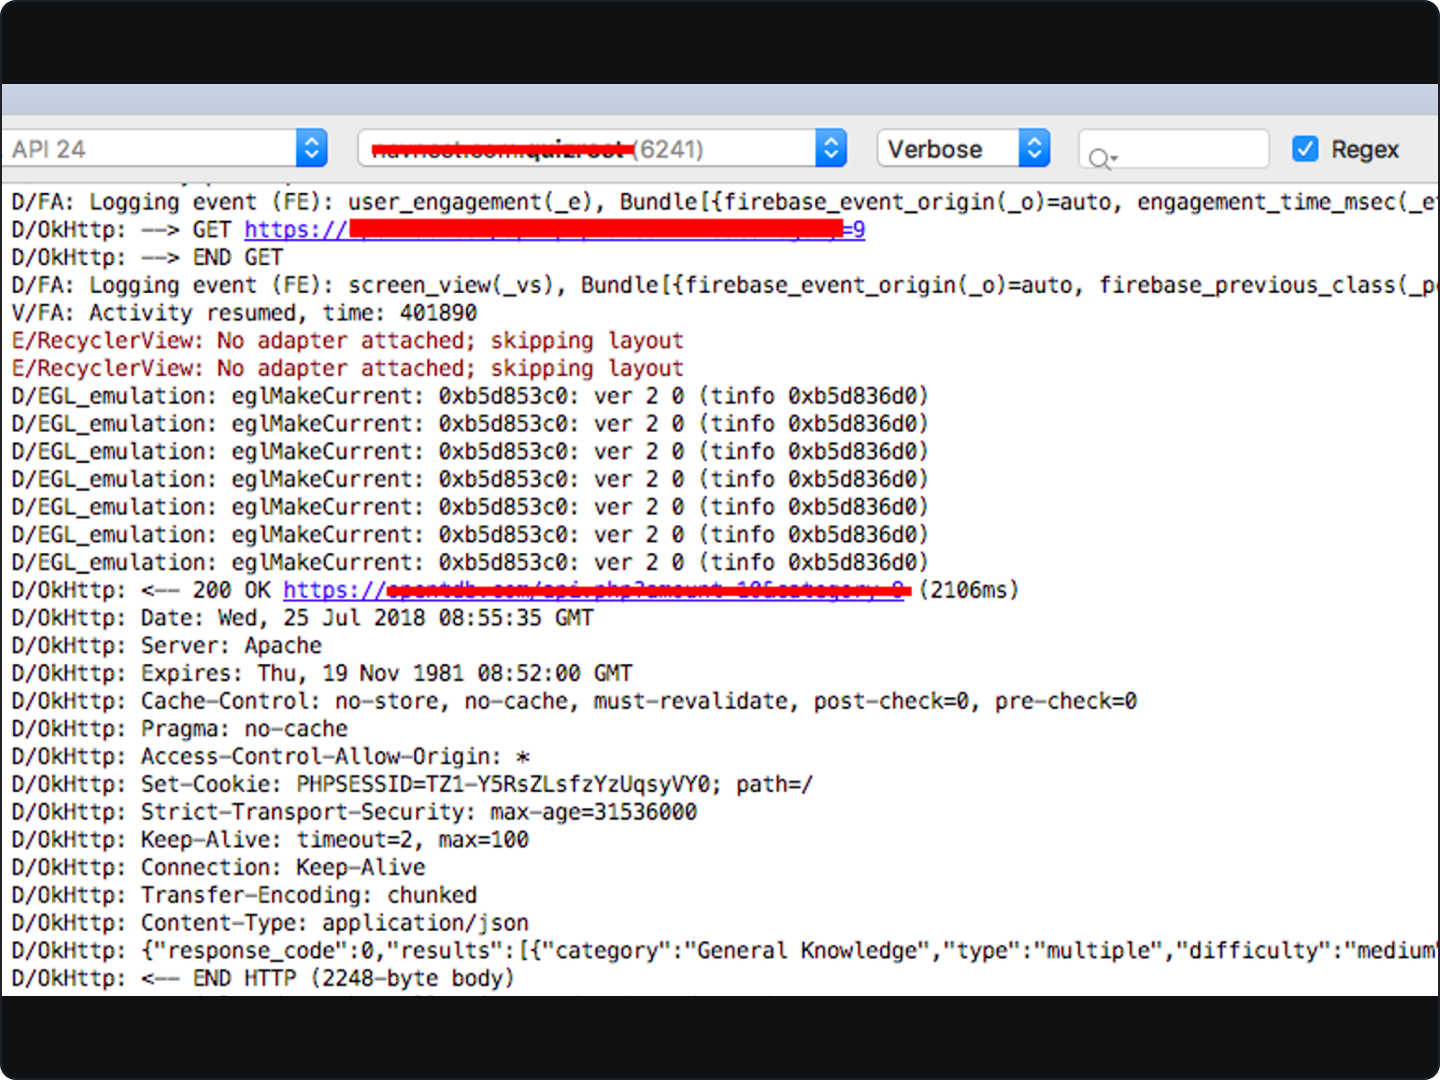
Debugging Network Calls
- Retrofit provides logging capabilities that can be enabled to observe the details of network calls, including request and response information.
- By adding an interceptor like OkHttp's
HttpLoggingInterceptor, you can log the network traffic to the console or a log file.
Best practices
When working with Retrofit, there are certain best practices and tips that can help you optimize your code, improve performance, and enhance the overall experience of using Retrofit in your Android projects.
- Use a Dependency Injection Framework
- Consider using a dependency injection (DI) framework like Dagger or Koin to handle the creation and injection of Retrofit instances.
- DI frameworks can help manage dependencies, improve modularity, and make it easier to configure and maintain Retrofit instances across your app.
- Learn more about dependency injection at Guide to dependency Injection
- Enable Gson for JSON Serialization/Deserialization
- Gson is a widely used and efficient library for JSON serialization and deserialization in Android.
- Configure Retrofit to use GsonConverterFactory for automatic conversion between JSON and Java/Kotlin objects.
- Use Interceptors for Common Functionality
- Interceptors can be used to perform common tasks, such as adding headers, logging requests and responses, or handling authentication.
- Enable ProGuard/R8 for Code Optimization
- When building your app for release, enable ProGuard (or R8) to shrink, optimize, and obfuscate your code.
- ProGuard can help reduce the size of the generated APK and remove unused code, leading to improved performance and reduced app size.
- Handle Errors and Network Issues
- Implement appropriate error handling mechanisms to handle network errors, timeouts, and other issues that may occur during network calls.
- Retrofit provides a convenient way to handle errors through callback methods, such as onFailure(), where you can handle specific error scenarios.
FAQs on Using Retrofit for Network Calls
Why should I use Retrofit instead of other HTTP client libraries?
- Retrofit provides a clean and intuitive API that simplifies the process of making network calls in Android applications.
- Its integration with popular converters like Gson or Jackson makes JSON or XML serialization/deserialization effortless.
- Retrofit's annotations and type-safe interfaces enhance code readability and reduce the chance of runtime errors.
How can I handle complex request bodies or multipart data with Retrofit?
- Retrofit supports custom request bodies through the
@Bodyannotation, enabling developers to send complex data structures or custom-defined formats as part of their API requests. - For handling multipart data, Retrofit provides options to send files or form data easily.
Why is it beneficial to use type-safe API interfaces with Retrofit?
- Type-safe API interfaces ensure that API endpoints are defined as methods with specific HTTP request methods (GET, POST, PUT, DELETE, etc.), reducing the risk of runtime errors.
- With type-safe interfaces, developers get compile-time validation of API endpoints, enabling early detection of issues and promoting code correctness.
- It provides improved code navigation and refactoring support, making it easier to work with and understand the network layer of an application.
How can I handle network timeouts and retries with Retrofit?
- Retrofit provides options to configure network timeouts and retries through the use of interceptors.
- By adding an interceptor to the OkHttpClient used by Retrofit, developers can set timeout durations, define retry logic, and handle connectivity issues effectively.
By mastering Retrofit, you can handle network requests efficiently and effectively in your Android applications. It offers a clean and intuitive way to communicate with APIs, serialize/deserialize data, and handle errors.
Continuously experiment with Retrofit, explore its advanced features, and adapt it to your specific use cases. The more you dive into it, the more you'll discover its versatility and power.
Now that you have a solid understanding of Retrofit, go out there and build amazing apps with seamless network communication!